
Most of the toddlers love playing with little cars, trucks, trains and other vehicles. Either it's a free play or incorporated into another activity (like building a city scene or such), they love things that move! And to make things more realistic and slowly introduce learning meaning of traffic signs to them, you might consider purchasing them a set of toy traffic signs to accompany their vehicles and mats. If you want, you can make them! Not hard at all! And really inexpensive! :) Here is a little tutorial to guide you through all the steps!
DIY Toy Tutorial
Mini Traffic Signs
What you'll need (supplies):
- 1 piece of white cardstock
- 1 piece of plain printer paper
- 40-50 toothpicks
- craft glue (or any other multipurpose glue)
- glue gun and glue sticks
- 40-50 smallest coins you can find around
Step 1.
Print out a set of traffic signs from online on cardstock and cut it out! I've used this printable but you can use which ever suits you. Just spend a minute or two on Google search.
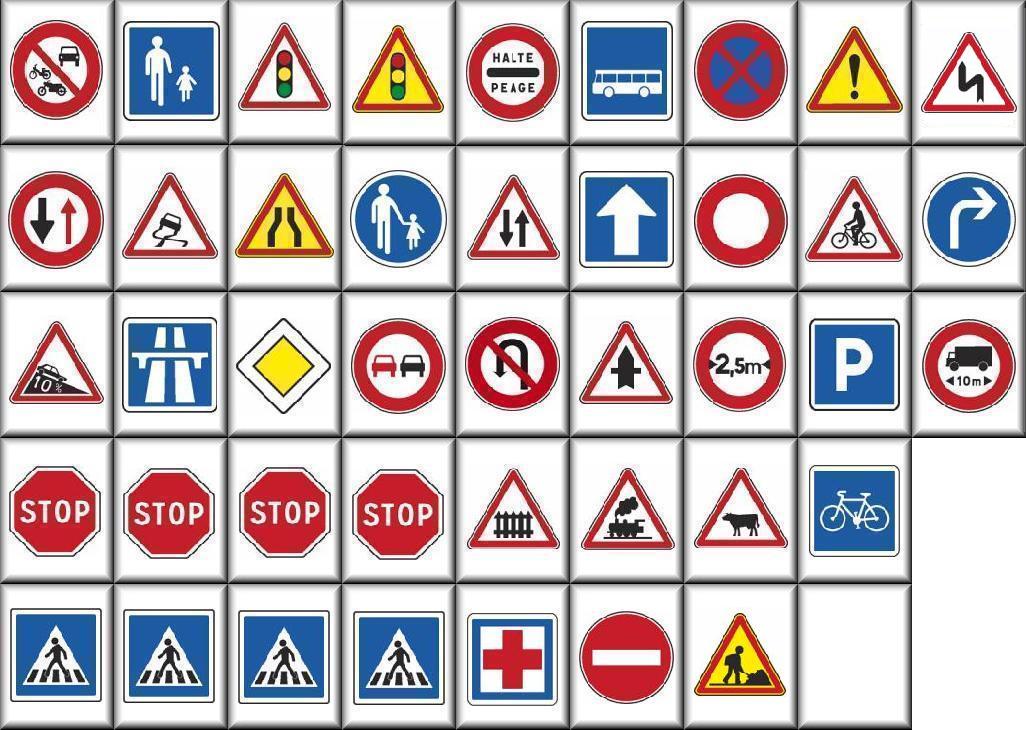

Step 2:
Use craft glue to glue cut out sign to paper and place toothpick in between cardstock and plain paper. Press hard for glue to spread and stick to toothpick. We don't want toothpick to fall out.


Cut out each of the signs once more and give additional pressure to the paper and cardstock to make sure they are glued right around toothpick. You should get something like this:

Step 3:
Prepare glue gun. While you're waiting for a gun to become ready, take scissors and cut out spikes from toothpicks (bottom part) - we need them as flat on the bottom as possible. Then put small coins on flat surface (I've used cutting board from kitchen so I wouldn't damage my table) and put as much glue to the surface to form a sphere (like on the picture bellow). Give it few seconds, then place traffic sign at the middle of the coin. Hold it as straight as you can until you see that glue changed color (became blurred). At that point, you can place it aside and continue with next sign. After a while, I managed to get into a roll of putting together 4 signs at the same time. It just needs a bit of practice. :)

If you don't have glue gun, or don't want to use it for this project, alternative could be to use cut out styrofoam cubes and stick and glue traffic signs in the middle of them. But since these traffic signs are really very light, I wanted to make base heavier and more stabile.
Finished set of traffic signs:

Would you be making one for your tots? Or you have some alternative? We would love to hear all ideas!

_______________________________________________________________________
WE MOVED TO:
 |
| Best Toys for Toddlers |
Jump over and see what we are up to!
And don't forget to subscribe for our weekly newsletter!
To cute! Red Ted would LOVE LOVE LOVE!
ReplyDeleteM x
CUTE site! And thanks for being my first follower! Following you right back. :)
ReplyDeleteI love these mini signs! What a great way to add environmental print :).
ReplyDeletethese mini signs are so cute! I love this idea
ReplyDeletebernadette
I was surprised the base was coins. By the picture, I thought they were those flat decorator marbles (like for candles & flowers)
ReplyDeleteMaybe I could glue those to styrofoam for weight? Then I could be using things I have!
Yes, Shana. You can give it a try. I didn't have any styrofoam at hand. Let us know how it turned out! :)
ReplyDeleteThat is soooo cool, and perfect for the activity which I've described in my blog here:
ReplyDeletehttp://auntannieschildcare.blogspot.com/2011/06/play-based-road-safety-activities-and.html
Thanks for the inspiration!
Having just spent the week with my 3 grand-wonder-kiddos in a house with a gazillion wheeled vehicles, this is a brilliant post.
ReplyDeleteI'll have to create a set & send as a mid-summer pick-me-up for my being away for a stretch. Thanks.
That is a really creative idea. We did something similar with the bottom of boxes, but I never thought to use hot glue and a coin. We will be doing this!
ReplyDeleteLauralee, stopping by from weteach
Glad you like it Debbie! Hope kids will too :)
ReplyDeleteLauralee - I'm using coins to add weight to a base. They are quite light otherwise!
If anyone tried any other option for a base, I would love to hear how it turned out! :=
Great way to teach concepts such as shapes and following directions. Great post and thanks for linking it up at The Sunday Showcase!
ReplyDeleteI'd love to make these for my son. He's obsessed with signs when we go for walks at the moment. Unfortunately, I think it would be too hard to keep our baby away from them, so I'll have to file it away for when they are both older.
ReplyDeleteI love this idea!
ReplyDeleteI run Fun Family Crafts, a library of craft tutorials geared at kids of all ages. I would love it if you'd stop by and submit this to be featured! (I link to you, I don't post your tutorial on the site) Feel free to submit as many kid friendly craft tutorials as you like! http://funfamilycrafts.com/
I know this post was awhile back but I wanted to thank for the idea! I used it at my daughter's birthday party (she wanted a bus theme) and they were super cute.
ReplyDeleteI wrote a post about it here: http://fromscratchmama.blogspot.com/2012/05/50-birthday-bash.html